Beer is awesome

So I’ve begun the strange adventure of home brewing, under the tutelage of one Jeff Melvin and Michael Erskine.

Last Friday, a beautiful day for a homebrew and a DIY project, Jeff and I build a wort chiller.

Jeff procured 50 feet of copper tubing, which we wrapped around a 5-gallon bucket. We bent the 90-degree angles around a can of dog food to avoid kinking. We attached heavy-duty hoses to the copper with worm clamps.

DIY wort chiller

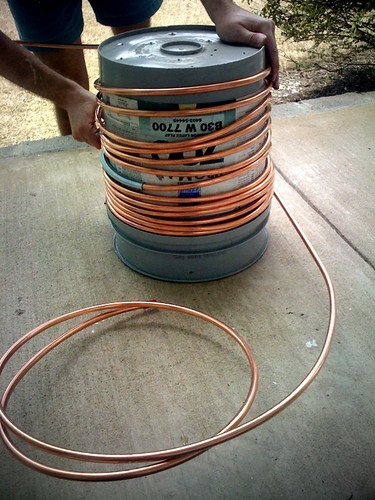
Here are the results, and Jeff explains how it all works and why it is awesome.

Share:
  • Print
  • email
  • PDF
  • Digg
  • del.icio.us
  • Facebook
  • Fark
  • Twitter
  1. Great video guys. Keep up the good stuff, hope no one takes this contraption for a meth lab being in TN and all, lol.

  2. Ha. True enough! We tried to not be shady about it so there would be no confusion.

  3. Congrats on the new chiller!

    I’ve been homebrewing for more than a year now here on the east side of the state. I used to use an immersion chiller like yours, but switched to a plate chiller after deciding I didn’t want to wait up to an hour for my wort to chill.

    Now, I use a combo of my old chiller in a separate bucket of ice water to prechill the water going through the plate chiller. This means I can hit lager temps of 50 degrees even during the summer when the ground water is warm.

  4. Thanks Patrick!

    I’m just getting into it. Got another batch in primary fermentation right now. May have to look into that plate chiller business. We got it down to 70 in about 14 minutes, but it’s damn hot here now.

Leave a Comment

NOTE - You can use these HTML tags and attributes:
<a href="" title=""> <abbr title=""> <acronym title=""> <b> <blockquote cite=""> <cite> <code> <del datetime=""> <em> <i> <q cite=""> <strike> <strong>